

This is a great design to show your appreciation for teachers that make a difference!
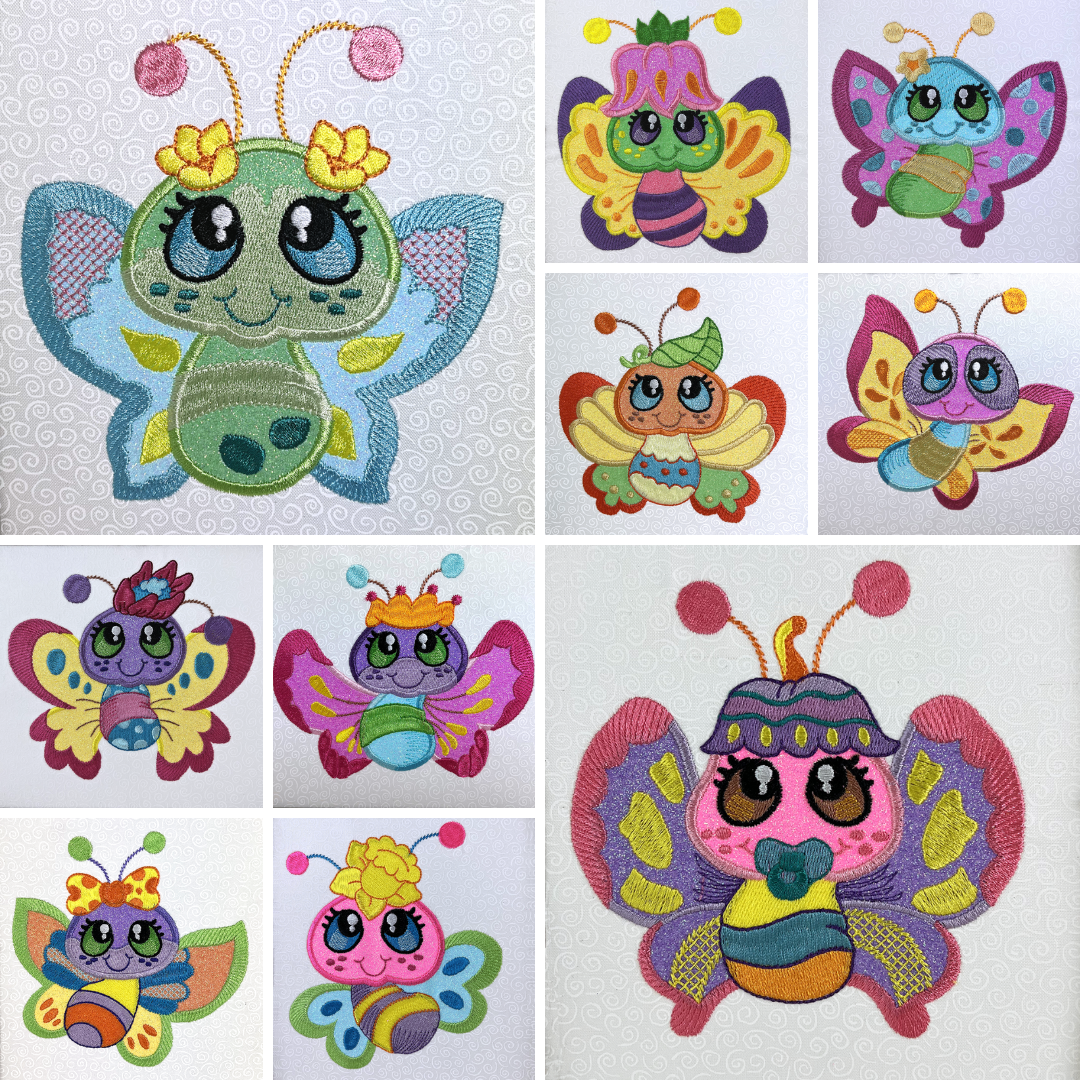
When I first saw Bonnie’s adorable Butterfly Buddies, this project immediately came to mind. My granddaughter recently finished preschool and had a wonderful teacher, which is so important. I thought this project would be the perfect way to say, "Thank you” as well as be a reminder of the difference that she made.
Stitching the Design
I started by cutting a piece of linen-look fabric larger than the frame. I ironed a piece of Shape Flex 101 interfacing on the back and finger-pressed horizontal and vertical creases for centering in the hoop.
I kept the colors on the brighter side to fit the preschool theme.

As a shortcut, since the first six color stops were for applique placement and tack-down, I chose to thread the machine with the first actual thread color, color 7 (orange).

The orange contrasted with the GlitterFlex, making it easier to see the stitching around which you will trim. Satin stitching will cover the tack-down thread so it really doesn’t matter what color you use for the placement and tack-down.
Trimming the Final Embroidery
After the design is embroidered (you can download the free text files HERE), it is time to trim to fit the frame. The interfacing beefs up the fabric a bit and helps keep edges from fraying.

Start by creating a straight edge. I lined up my ruler along the bottom of the “wings” text and cut a straight edge. The margin from edge to the embroidery design is larger than I need, but will be trimmed down later.

I can now use this straight edge along one of the cutting mat lines to cut the other three. Measuring the horizontal width of the design, I can determine how much space to have on each side and trim accordingly.

Same for the top and bottom of the design. After the top is trimmed, you can take cut the excess off of the straight bottom cut made earlier.
Pop it in a frame, and it is a darling presentation to the special educators in your life!
Be sure you pick up your free text for your design HERE!
NOTE: You will notice that my framed design has a puckered face. I got so excited to stitch this that I forgot to fuse the GlitterFlex! If you follow Bonnie's fusing directions, you will have perfect results as shown in her photos.
Debbie Henry
Sew Inspired by Bonnie
Comments