

This wreath is just begging for one of Bonnie’s Bunny Buddies and it is super easy to make!

Bonnie’s first set of Bunny Buddies was adorable and the second edition, is even cuter! When I saw this wreath from Joann Fabrics (no affiliation), I knew exactly what I was going to make. (As of Sunday, March 24th, it was still available at 70% off!)
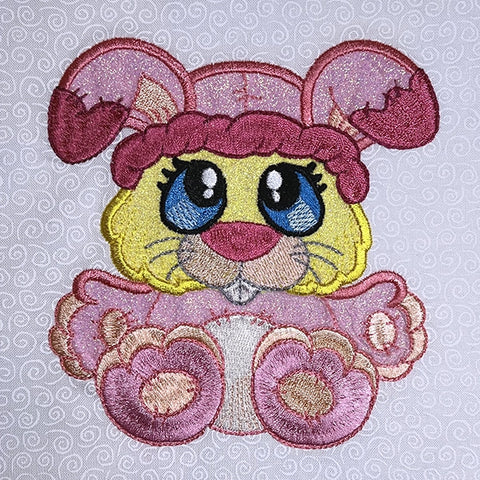
I chose Bunny Buddies 2, number 9, to embroider for the center of the wreath. (You can see another wreath using the first set of Bunny Buddies here.) For a background fabric, I chose a multi-toned green marble fabric and cut it slightly larger than what I needed. I loaded the design on my machine and stitched the applique position (placement) and applique material (tack down) and fused the GlitterFlex as instructed.
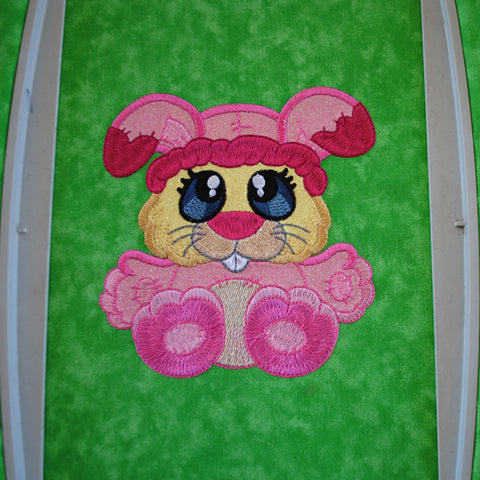
Of course, it stitched out beautifully.
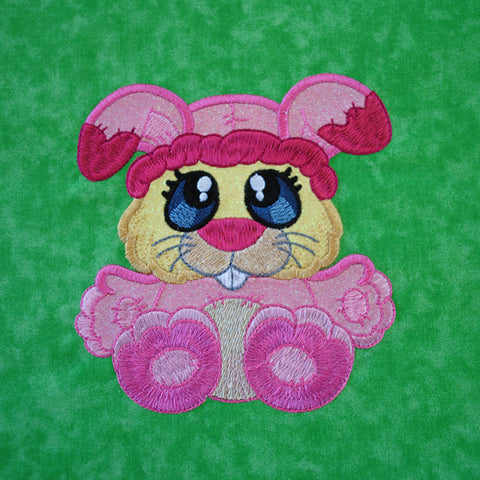
After embroidery, I removed everything from the hoop, removed excess stabilizer, trimmed jump stitches on the back, and pressed from the back.
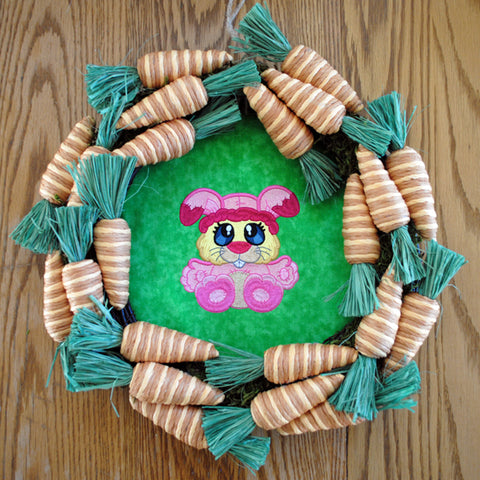
The wreath is constructed on a grapevine-type base. I removed the rabbit leaving just the wreath of carrots. You can make the back a couple of different ways.
One way is to cut a cardboard or foamboard base into a circle that is slightly smaller than the outer edge of the wreath. Center the embroidered bunny in the center of the base circle and glue it to the background, trimming around the outside edge when it is dry. Glue it to the back of the wreath before hanging.

The other option is to turn the wreath over to the back and run a bead of glue around the wreath half-way between the outside and inside edges. Flip it back over and center over the stitched bunny, pressing the wreath against the fabric. After the glue dries, trim fabric to the glue line and the wreath is ready to hang.
Debbie Henry
Sew Inspired by Bonnie
Comments